How to Write a Stripes Shader, Part 3: Checker Patterns
In this third part of stripes shader series we will add a new mode to render checker pattern instead stripes. We will also implement different blend operations.
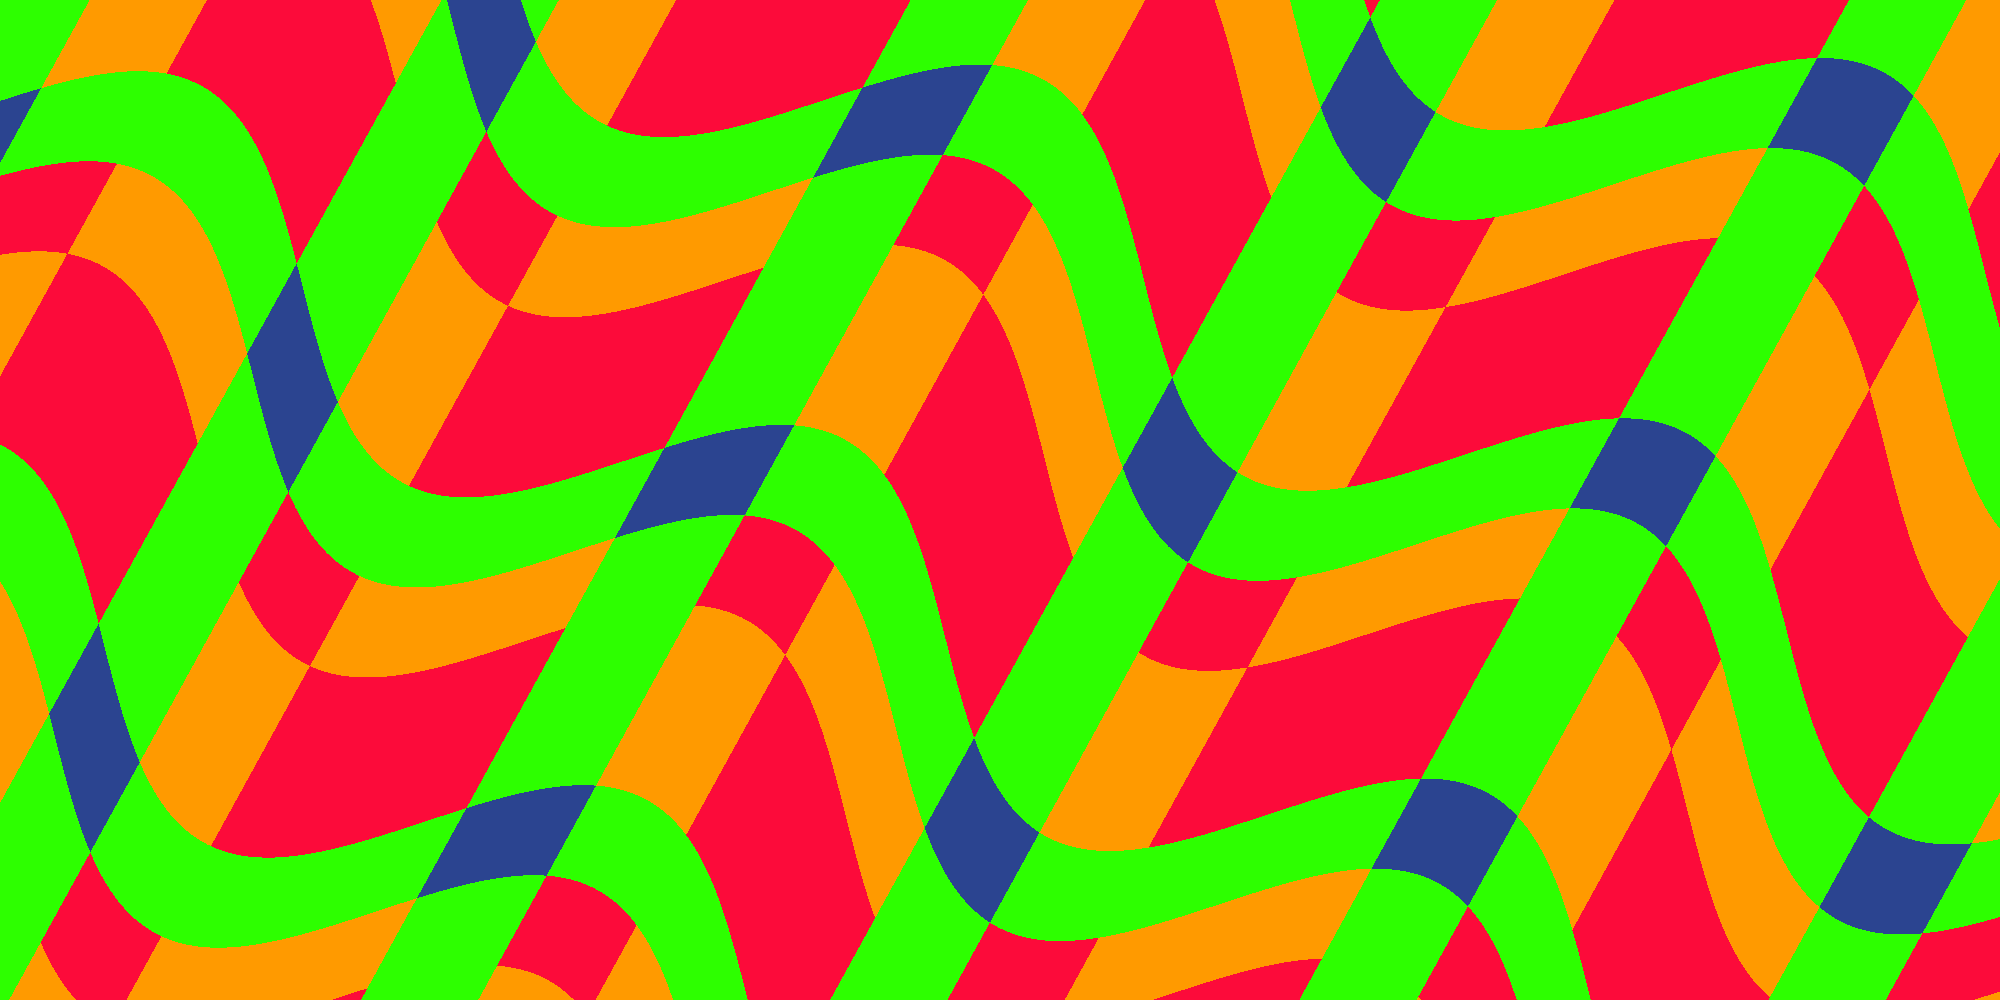
The final result will look like this:
Checker Mode
Let’s start with adding a new mode in the properties. We want to select the mode from a drop down menu. This can be done by adding an Enum attribute to the property:
[Enum(Stripes, 0, Checker, 1)] _Mode ("Mode", Float) = 0It looks like this in the Unity inspector:

You can learn more about property attributes in the Unity Docs.
Extending the Fragment Shader
Next we implement the checker mode into the fragment shader. The basic idea is to calculate pos and value in two axis. We already do this for pos because we need it for the warp effect. So we only need to calculate value in both axis, too. Then we combine the two components of value and use the resulting value to pick a color.
fixed4 frag (v2f i) : SV_Target
{
	const float PI = 3.14159;

	float2 pos = rotatePoint(i.uv.xy, float2(0.5, 0.5), _Direction * 2 * PI);

	pos.x += sin(pos.y * _WarpTiling * PI * 2) * _WarpScale;
	pos *= _Tiling;

	int2 value = floor(frac(pos) * _NumColors + _WidthShift);
	value = clamp(value, 0, _NumColors - 1);
	if (_Mode == 1) {
		value.x += value.y;
		value.x = fmod(value, _NumColors);
	}

	switch (value.x) {
		case 3: return _Color4;
		case 2: return _Color3;
		case 1: return _Color2;
		default: return _Color1;
	}
}
Now step by step. First we apply tiling to both components of pos:
pos *= _Tiling;Then we change the type of value to int2 and calculate the value from both components of pos:
int2 value = floor(frac(pos) * _NumColors + _WidthShift);The following line did not change but since value is now an int2 both components are being clamped. So far the result would be the same if we just render stripes.
Now comes the interesting part which actually does something different if _Mode equals 1 - which is the checker mode: If we are in checker mode the two components of value are being combined. Because the result can be greater than _NumColors + 1 we perform a modulo afterwards:
if (_Mode == 1) {
	value.x += value.y;
	value.x = fmod(value, _NumColors);
}
In the switch we need value.x because value is now an int2:
switch (value.x) {Checker in Action
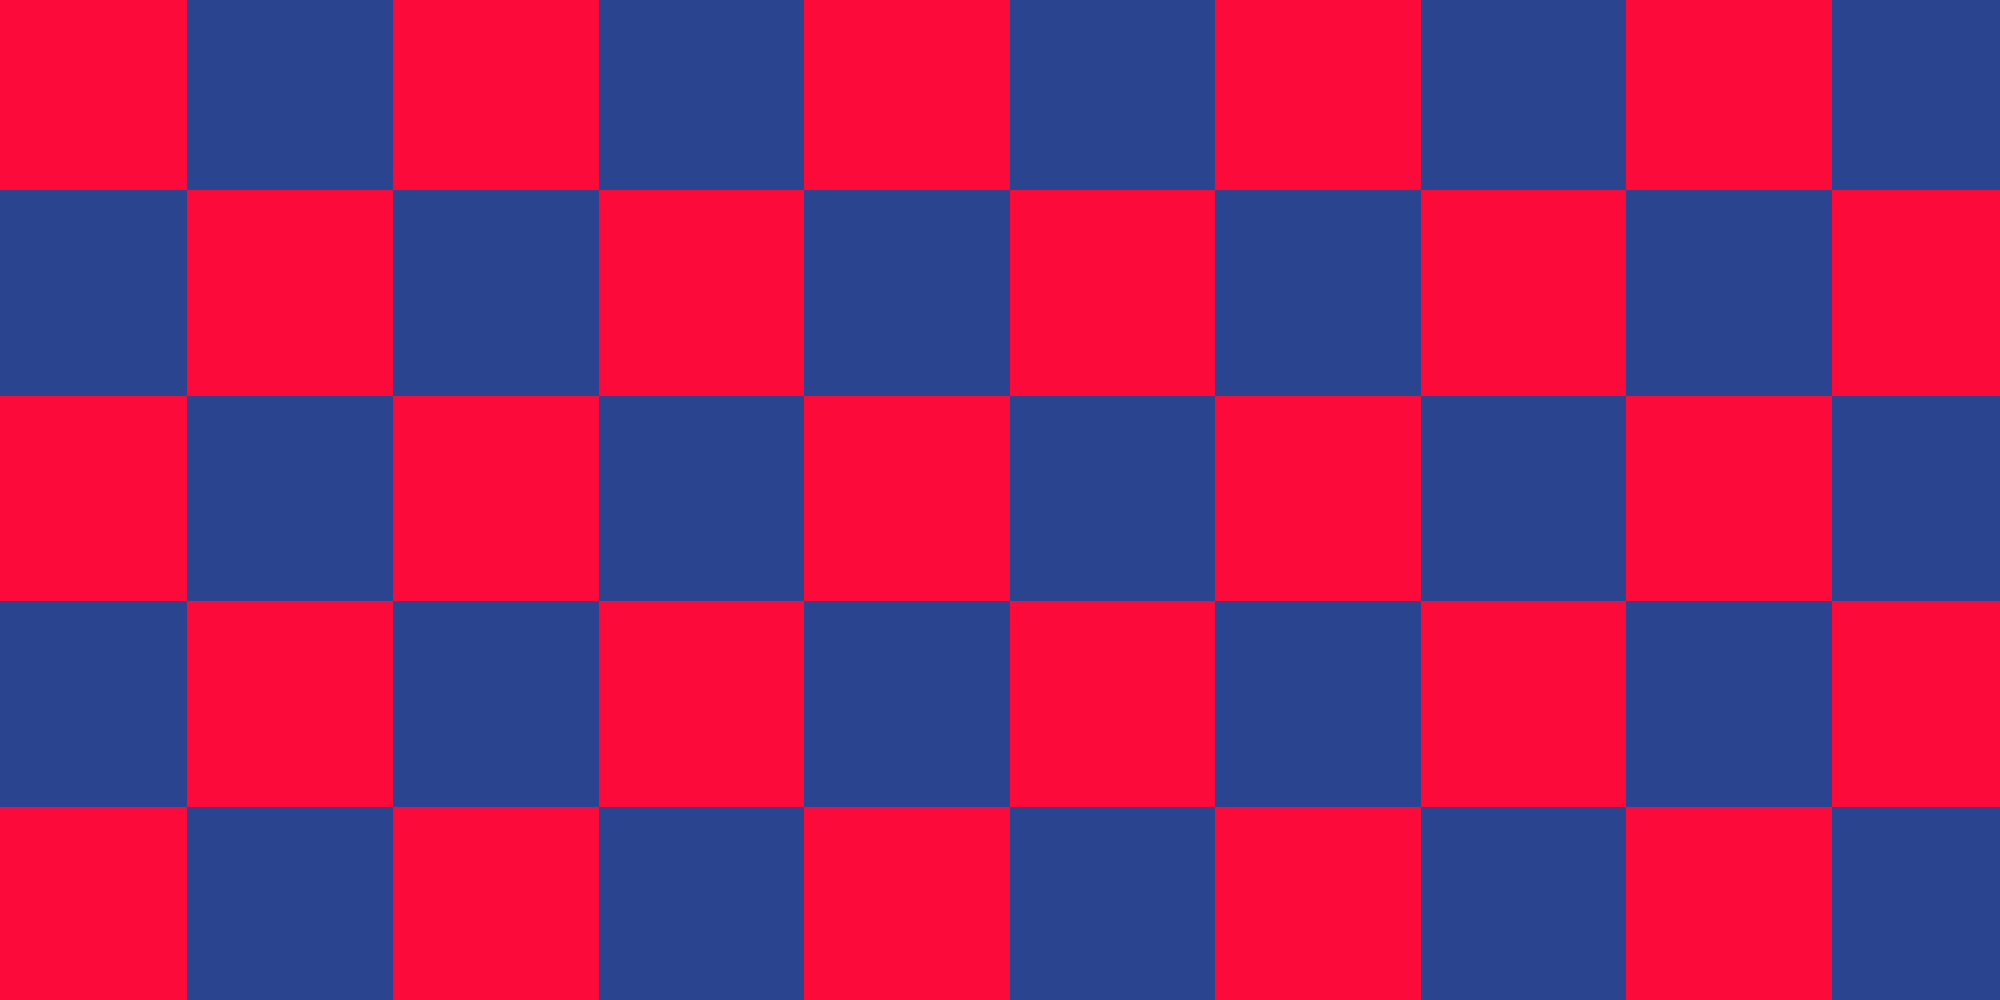
Let’s see how the new checked mode looks with two colors:
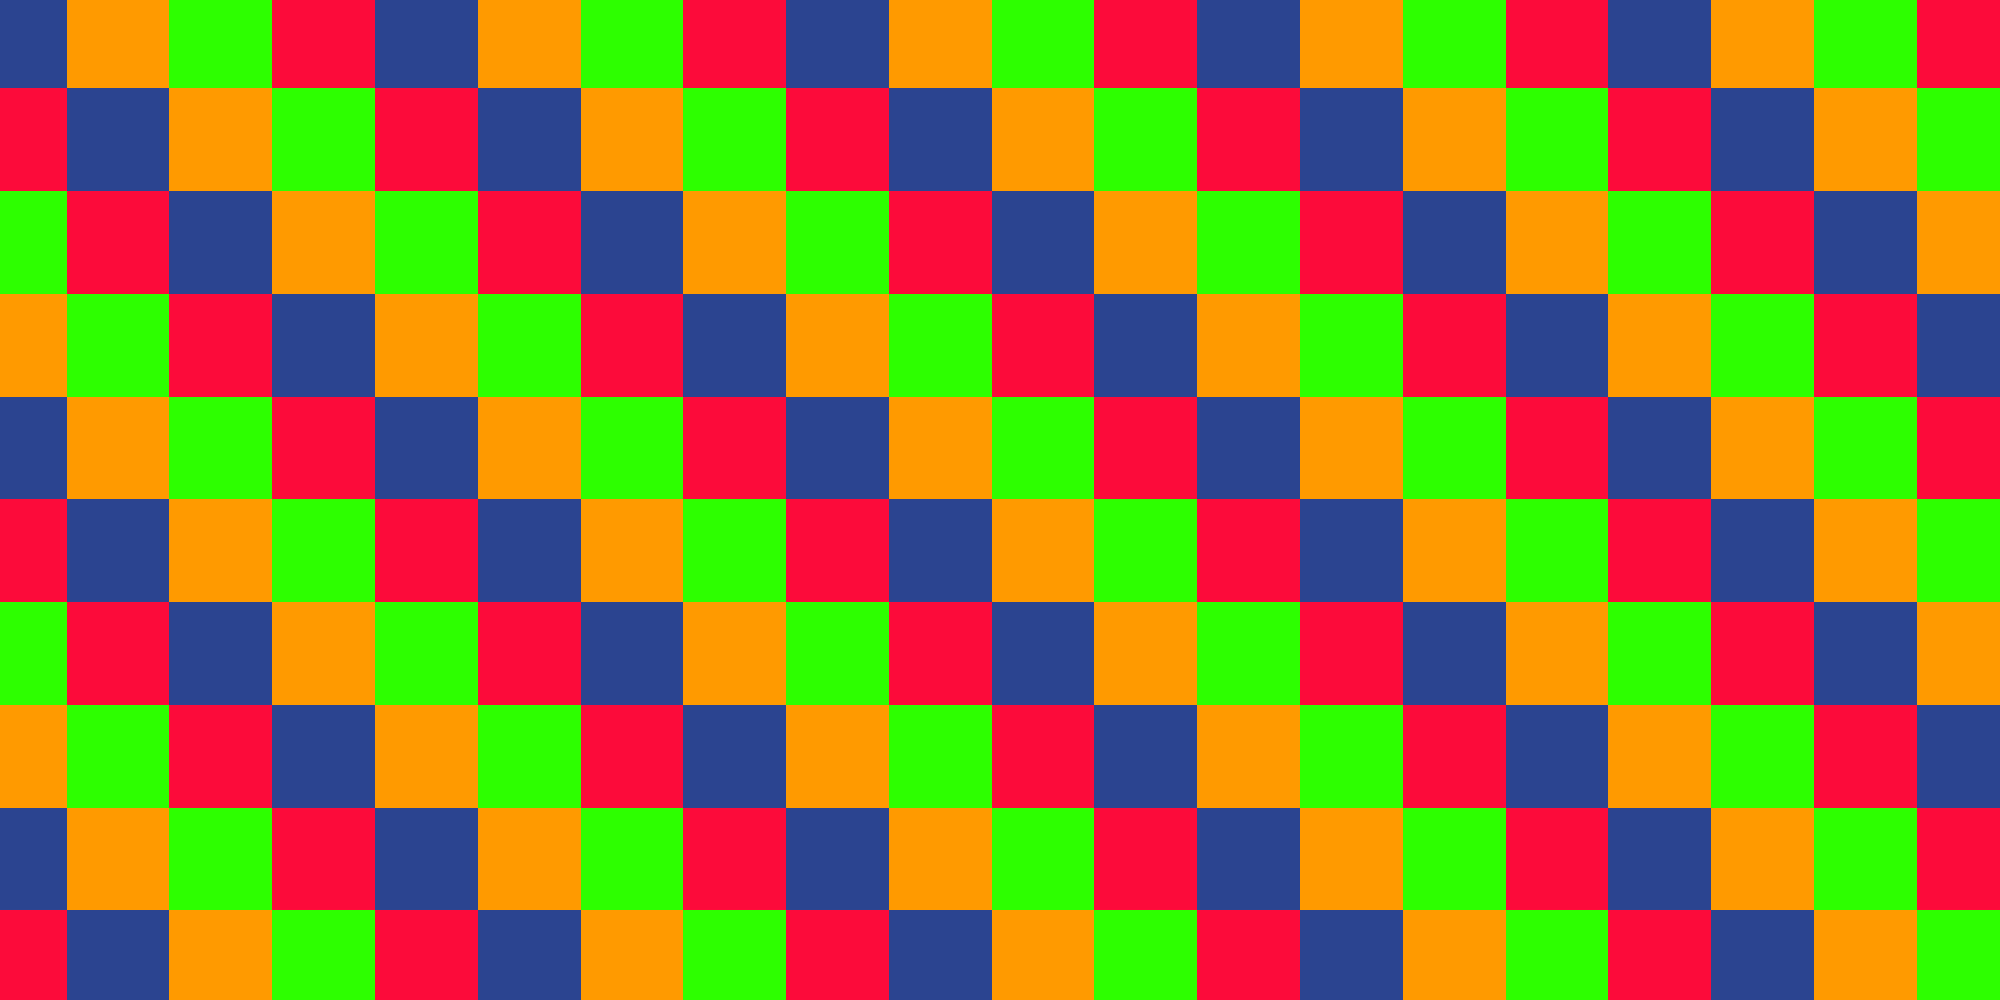
Nothing fancy. But we can tweak the parameters to get more interesting results. This is a checker pattern with 4 colors:
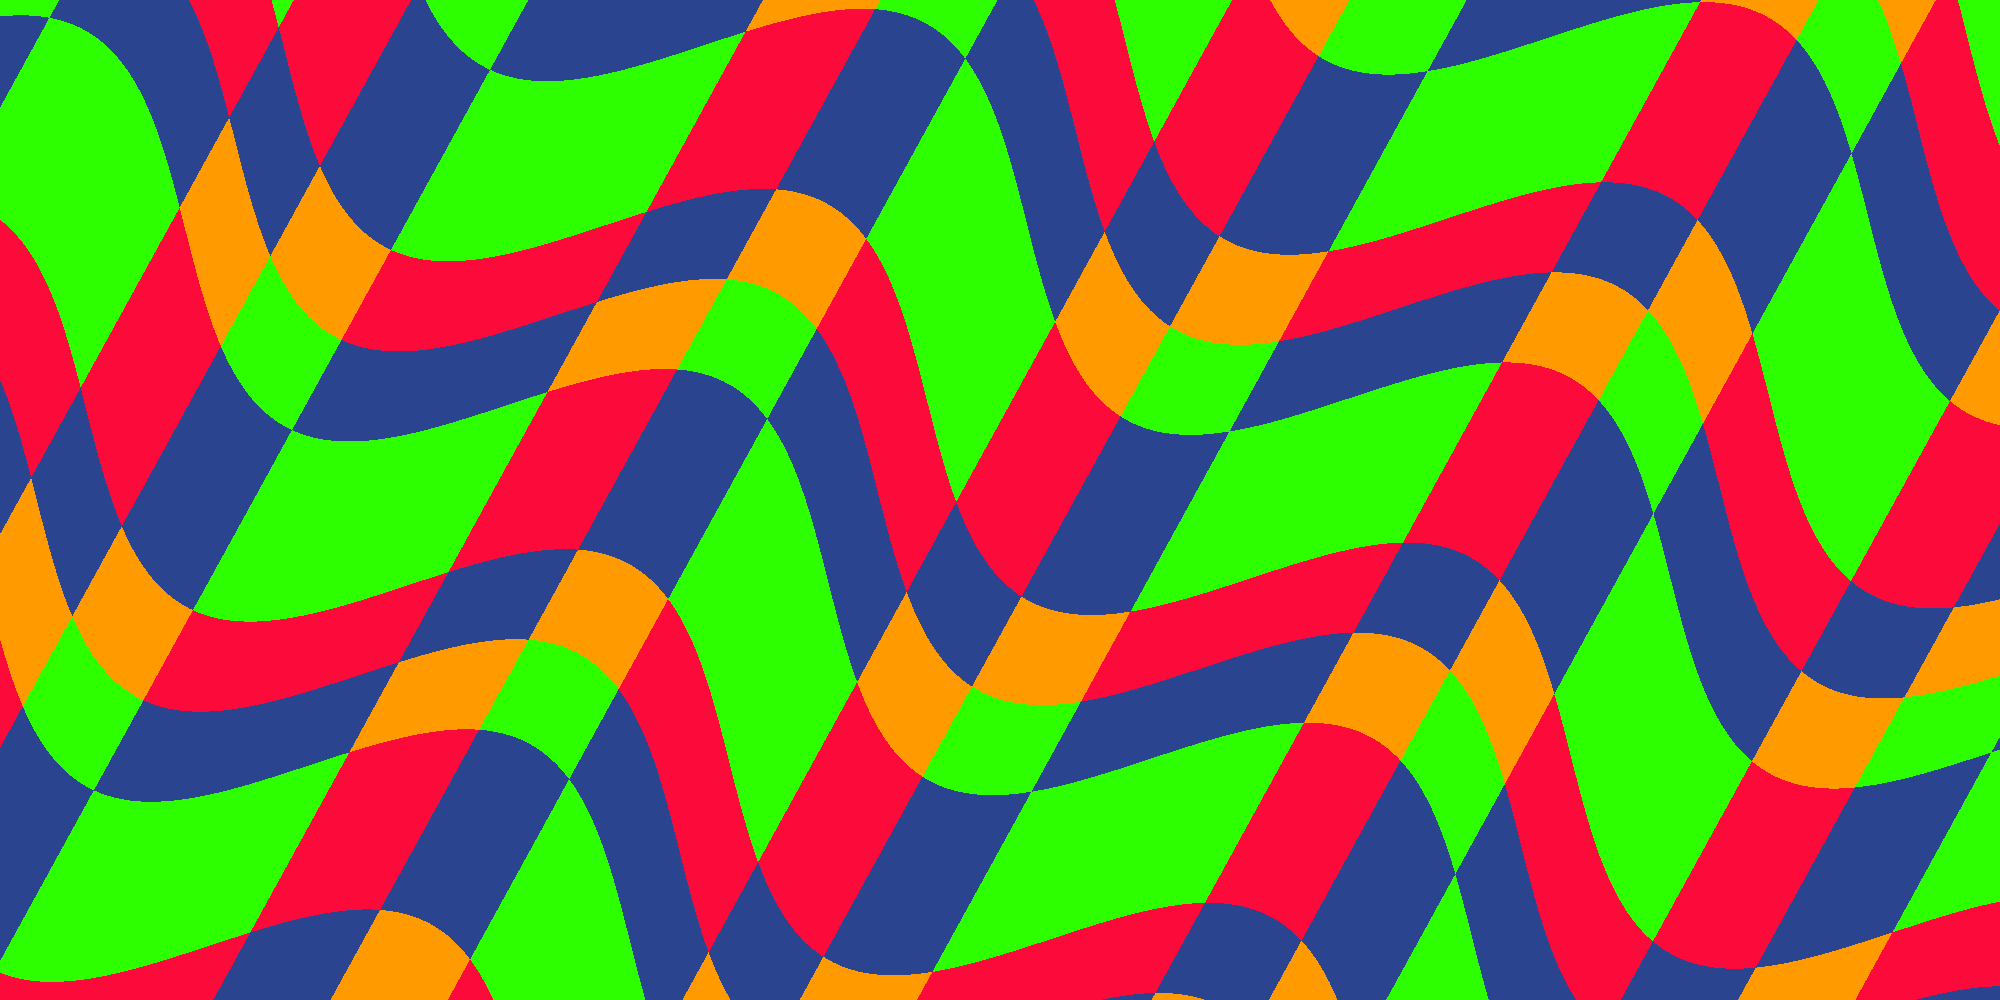
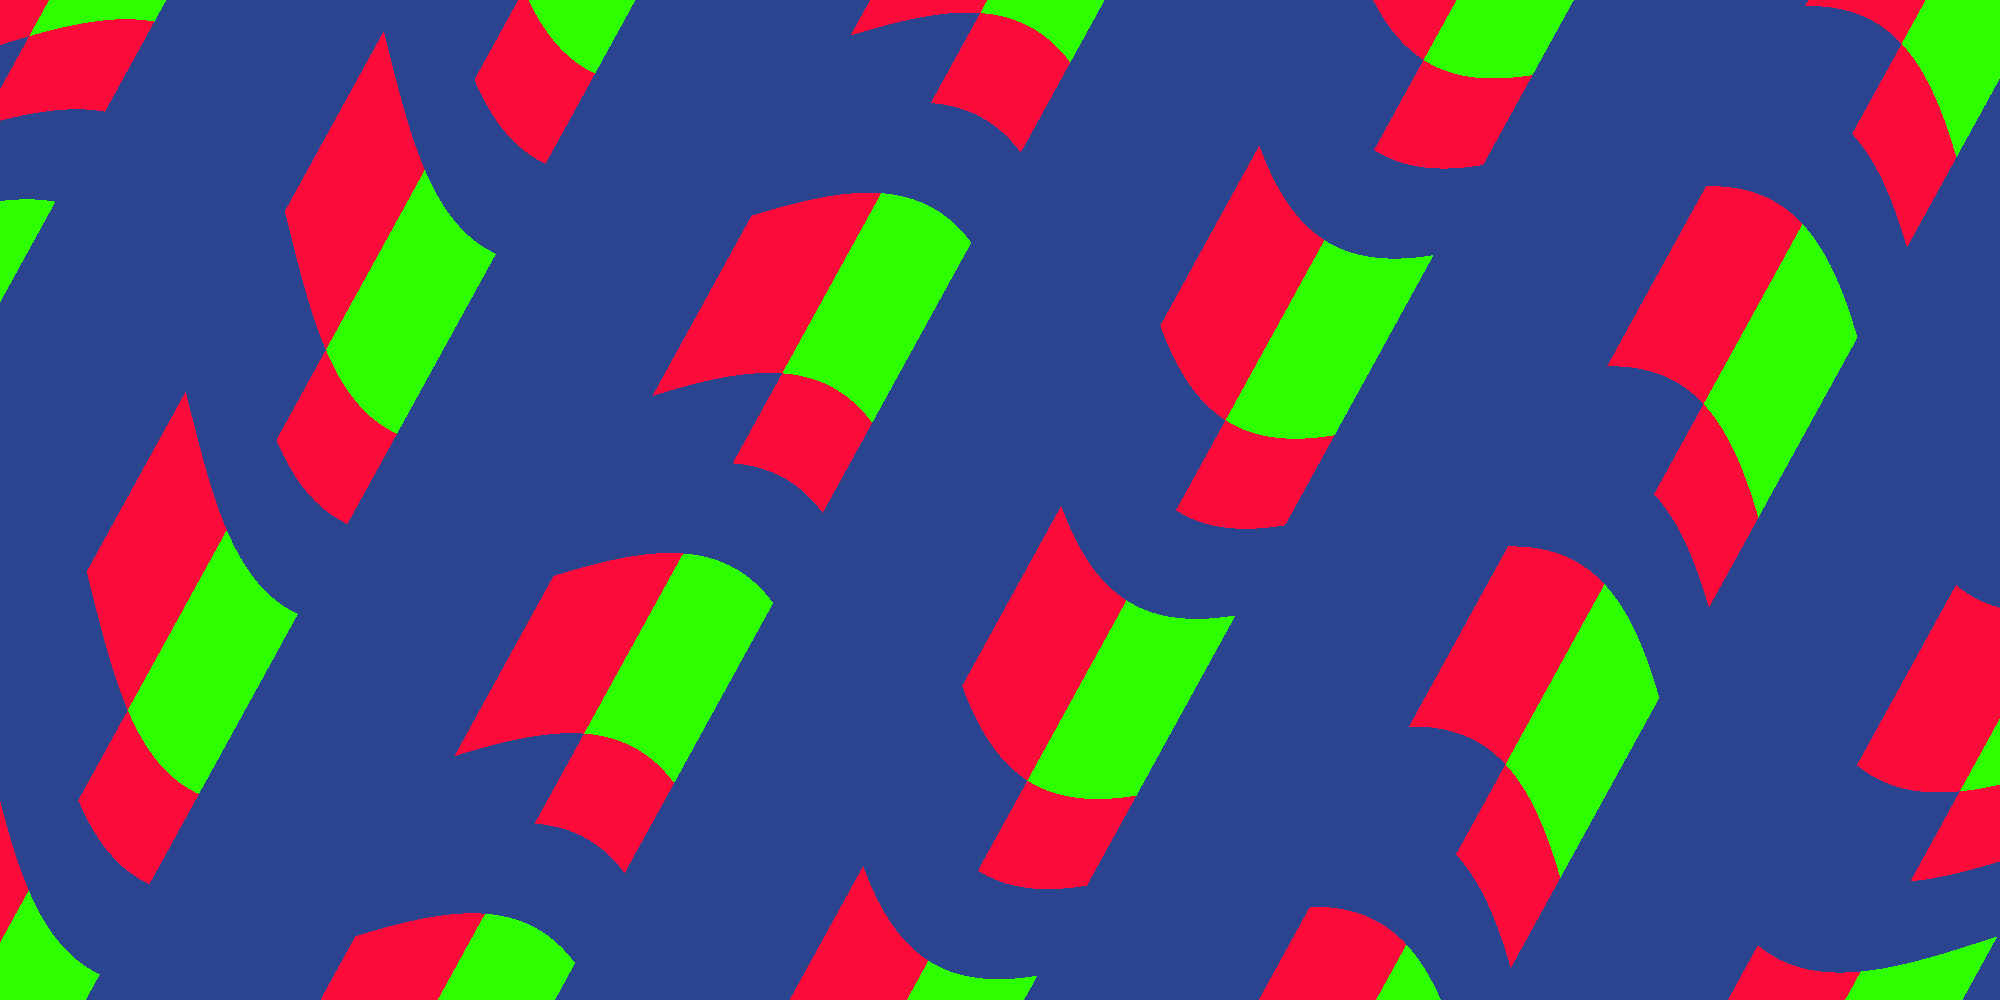
The same pattern with rotation, warp and width shift parameters modified:
Blend Operations
So far we added the two values: value.x += value.y. What happens if we subtract value.y instead? Or use another operation like multiply, divide… We will get more variations! So let’s do that. First add another parameter:
[Enum(Add, 0, Sub, 1, Mul, 2, Div, 3, And, 4, Or, 5)] _Operation ("Checker Operation", Float) = 0Then in the fragment shader switch between the different operations:
if (_Mode == 1) {
switch (_Operation) {
case 5:
value.x |= value.y;
break;
case 4:
value.x &= value.y;
break;
case 3:
value.x /= value.y;
break;
case 2:
value.x *= value.y;
break;
case 1:
value.x -= value.y;
break;
default:
value.x += value.y;
break;
}
value.x = fmod(value, _NumColors);
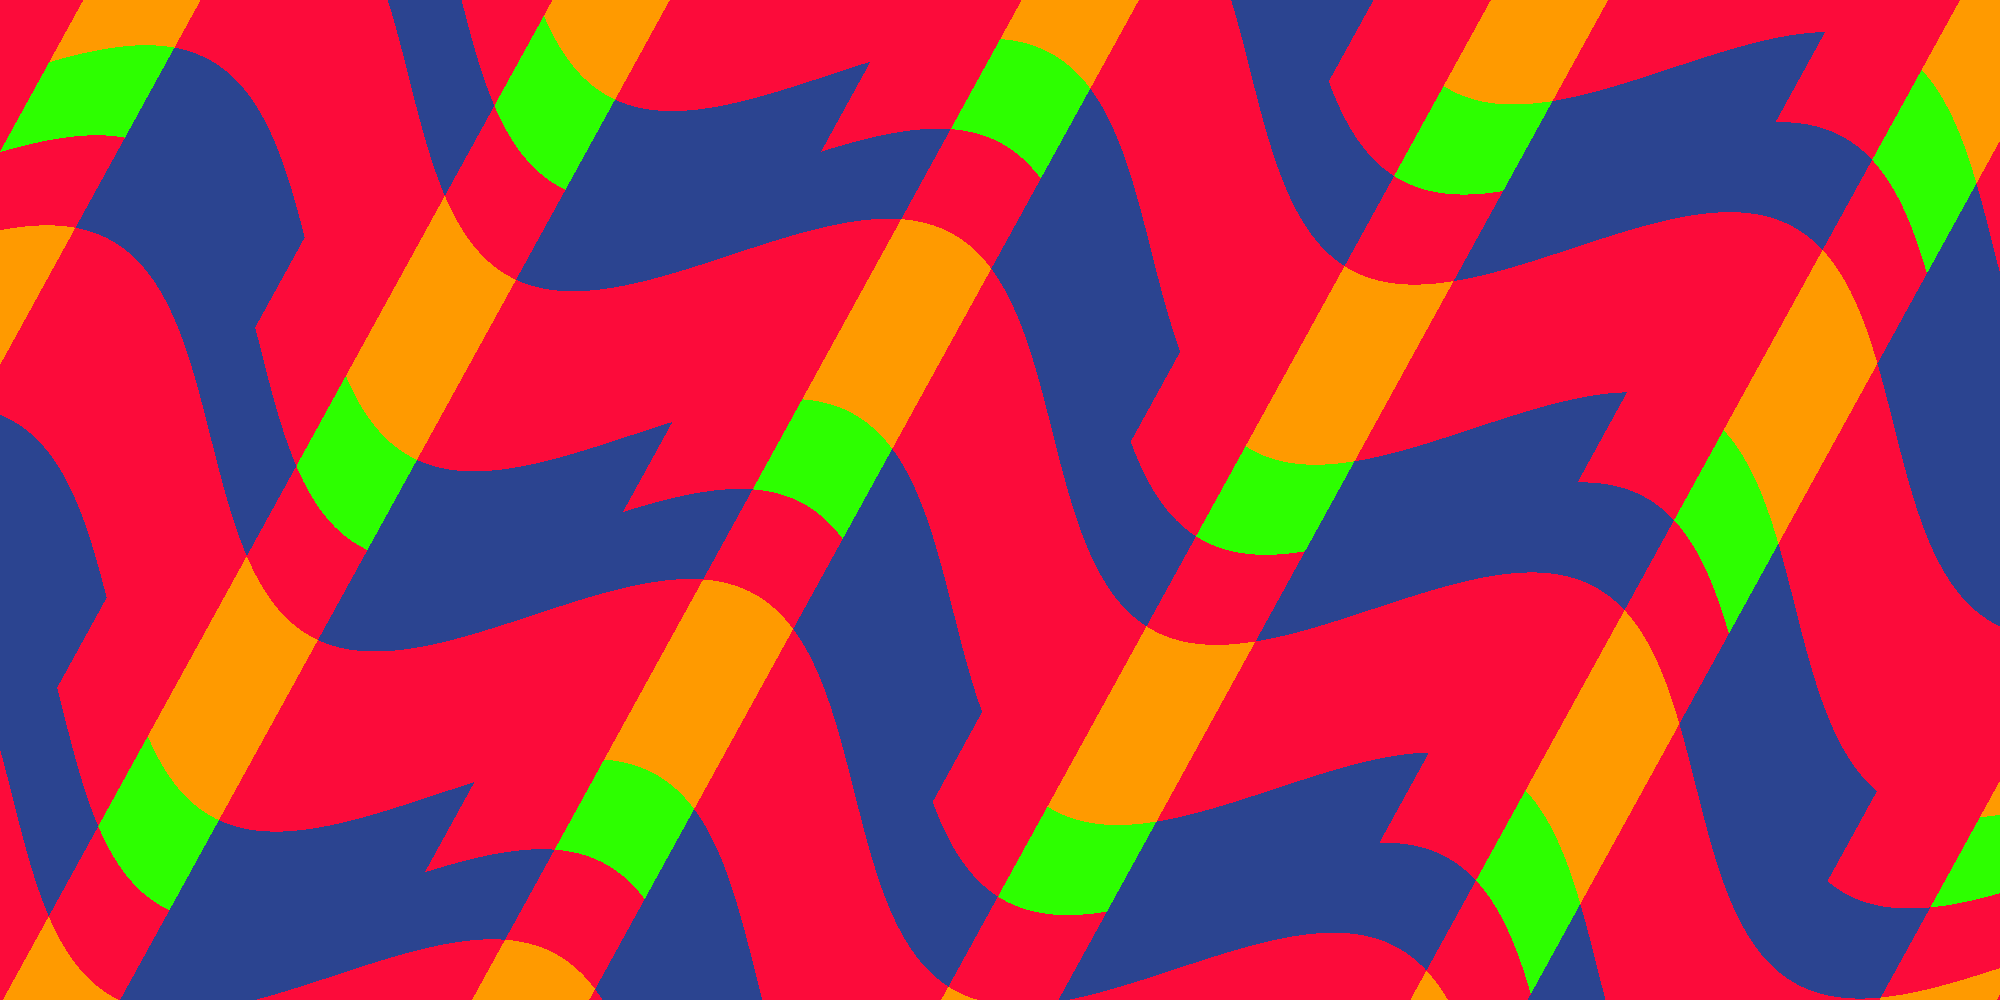
}Let’s see how the last example looks with the different operations. We had add already:
Subtract:
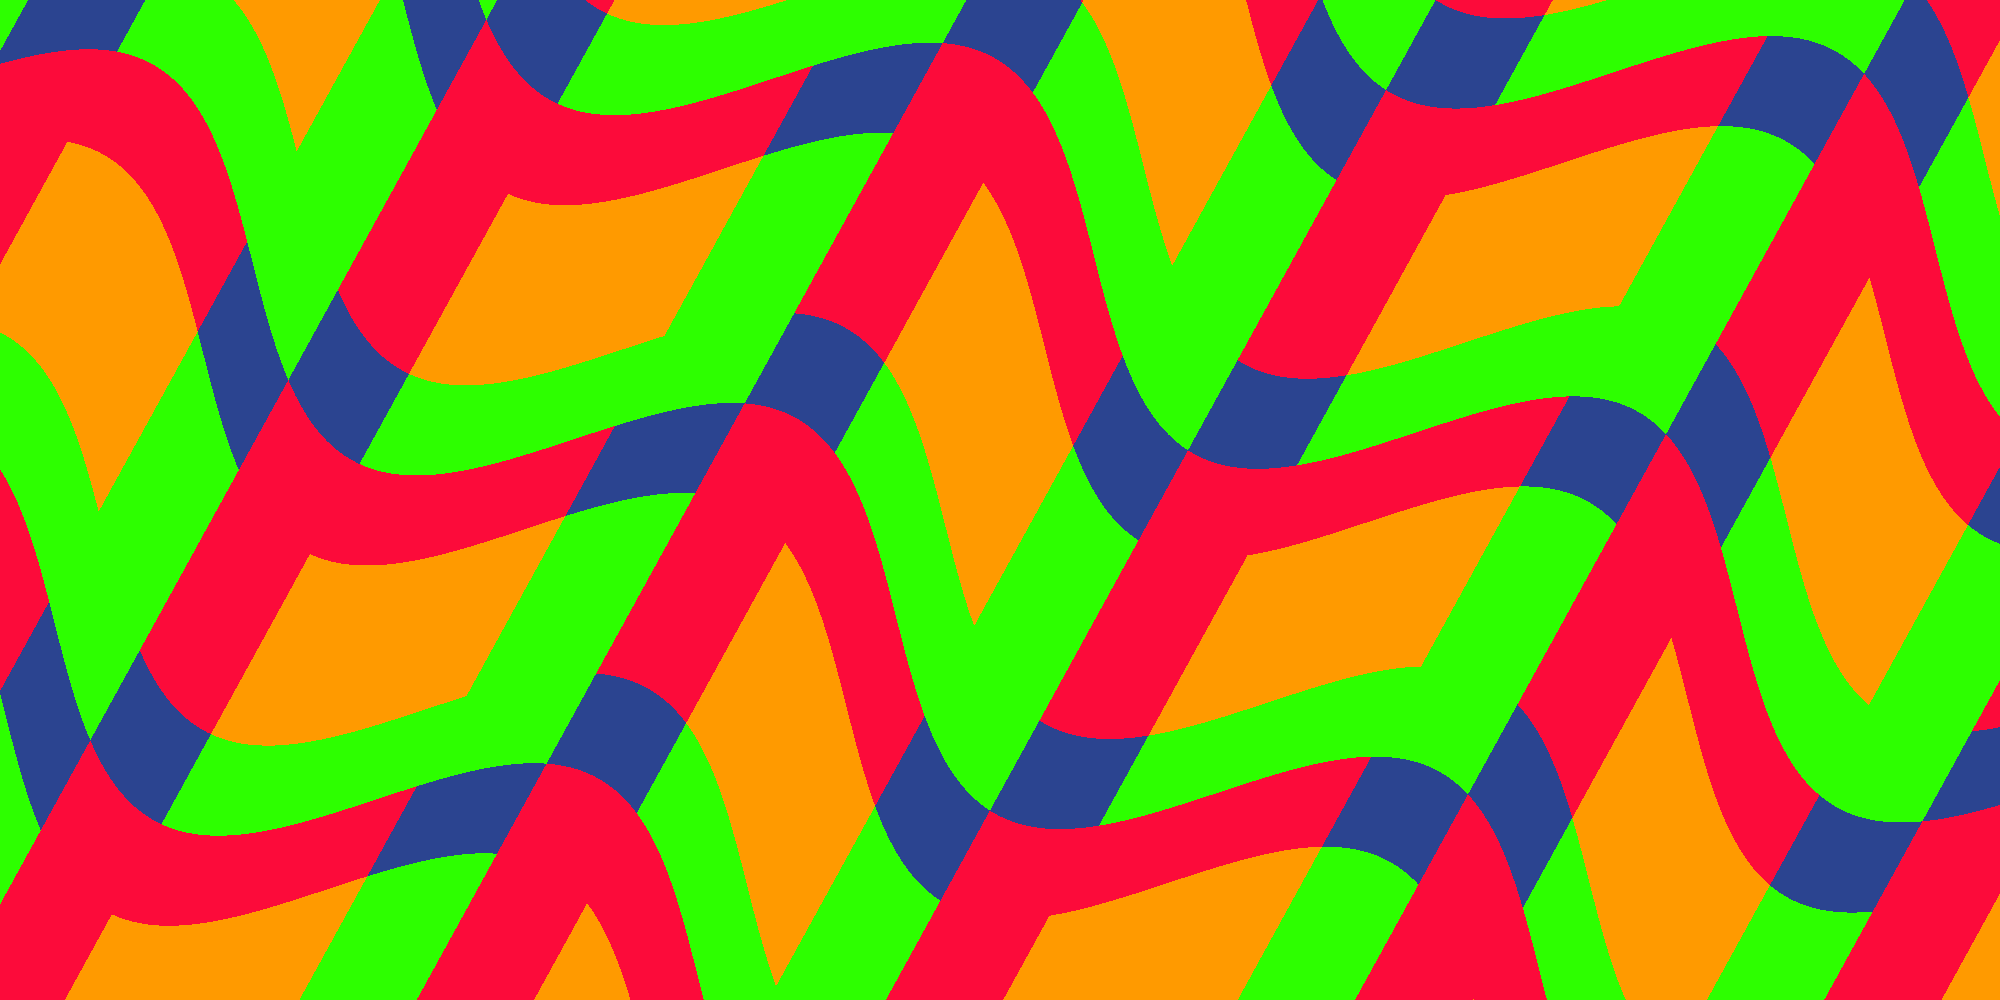
Multiply:
Divide:
Logical And:
Logical Or:

All Together
This is the full code of the shader:
Shader "Unlit/Stripes-3"
{
	Properties {
		[IntRange] _NumColors ("Number of colors", Range(2, 4)) = 2
		_Color1 ("Color 1", Color) = (0,0,0,1)
		_Color2 ("Color 2", Color) = (1,1,1,1)
		_Color3 ("Color 3", Color) = (1,0,1,1)
		_Color4 ("Color 4", Color) = (0,0,1,1)
		_Tiling ("Tiling", Range(1, 500)) = 10
		_WidthShift ("Width Shift", Range(-1, 1)) = 0
		_Direction ("Direction", Range(0, 1)) = 0
		_WarpScale ("Warp Scale", Range(0, 1)) = 0
		_WarpTiling ("Warp Tiling", Range(1, 10)) = 1
		[Enum(Stripes, 0, Checker, 1)] _Mode ("Mode", Float) = 0
		[Enum(Add, 0, Sub, 1, Mul, 2, Div, 3, And, 4, Or, 5)] _Operation ("Checker Operation", Float) = 0
	}

	SubShader
	{

		Pass
		{
			CGPROGRAM
			#pragma vertex vert
			#pragma fragment frag

			#include "UnityCG.cginc"

			int _NumColors;
			fixed4 _Color1;
			fixed4 _Color2;
			fixed4 _Color3;
			fixed4 _Color4;
			int _Tiling;
			float _WidthShift;
			float _Direction;
			float _WarpScale;
			float _WarpTiling;
			int _Operation;
			int _Mode;

			struct appdata
			{
				float4 vertex : POSITION;
				float2 uv : TEXCOORD0;
			};

			struct v2f
			{
				float2 uv : TEXCOORD0;
				float4 vertex : SV_POSITION;
			};

			v2f vert (appdata v)
			{
				v2f o;
				o.vertex = UnityObjectToClipPos(v.vertex);
				o.uv = v.uv;
				return o;
			}

			float2 rotatePoint(float2 pt, float2 center, float angle) {
				float sinAngle = sin(angle);
				float cosAngle = cos(angle);
				pt -= center;
				float2 r;
				r.x = pt.x * cosAngle - pt.y * sinAngle;
				r.y = pt.x * sinAngle + pt.y * cosAngle;
				r += center;
				return r;
			}

			fixed4 frag (v2f i) : SV_Target
			{
				const float PI = 3.14159;

				float2 pos = rotatePoint(i.uv.xy, float2(0.5, 0.5), _Direction * 2 * PI);

				pos.x += sin(pos.y * _WarpTiling * PI * 2) * _WarpScale;
				pos *= _Tiling;

				int2 value = floor(frac(pos) * _NumColors  + _WidthShift);
				value = clamp(value, 0, _NumColors - 1);
				if (_Mode == 1) {
					switch (_Operation) {
						case 5:
							value.x |= value.y;
							break;
						case 4:
							value.x &= value.y;
							break;
						case 3:
							value.x /= value.y;
							break;
						case 2:
							value.x *= value.y;
							break;
						case 1:
							value.x -= value.y;
							break;
						default:
							value.x += value.y;
							break;
					}
					value.x = fmod(value, _NumColors);
				}

				switch (value.x) {
					case 3: return _Color4;
					case 2: return _Color3;
					case 1: return _Color2;
					default: return _Color1;
				}
			}
			ENDCG
		}
	}
}
Here you can find a Unity Package and an example scene.
Now there is a lot of parameters to play with and a lot of variation you can create with it.
This concludes the stripes shader series. I hope you enjoyed it and learned something. Also I’m curious to see what you do with it. Feel free to add your questions and feedback in the comments.