How to Write a Stripes Shader, Part 2: Rotation, Width Shift and Colors
In this post we will develop the basic stripes shader further. We will add full rotation, width shift and more colors.
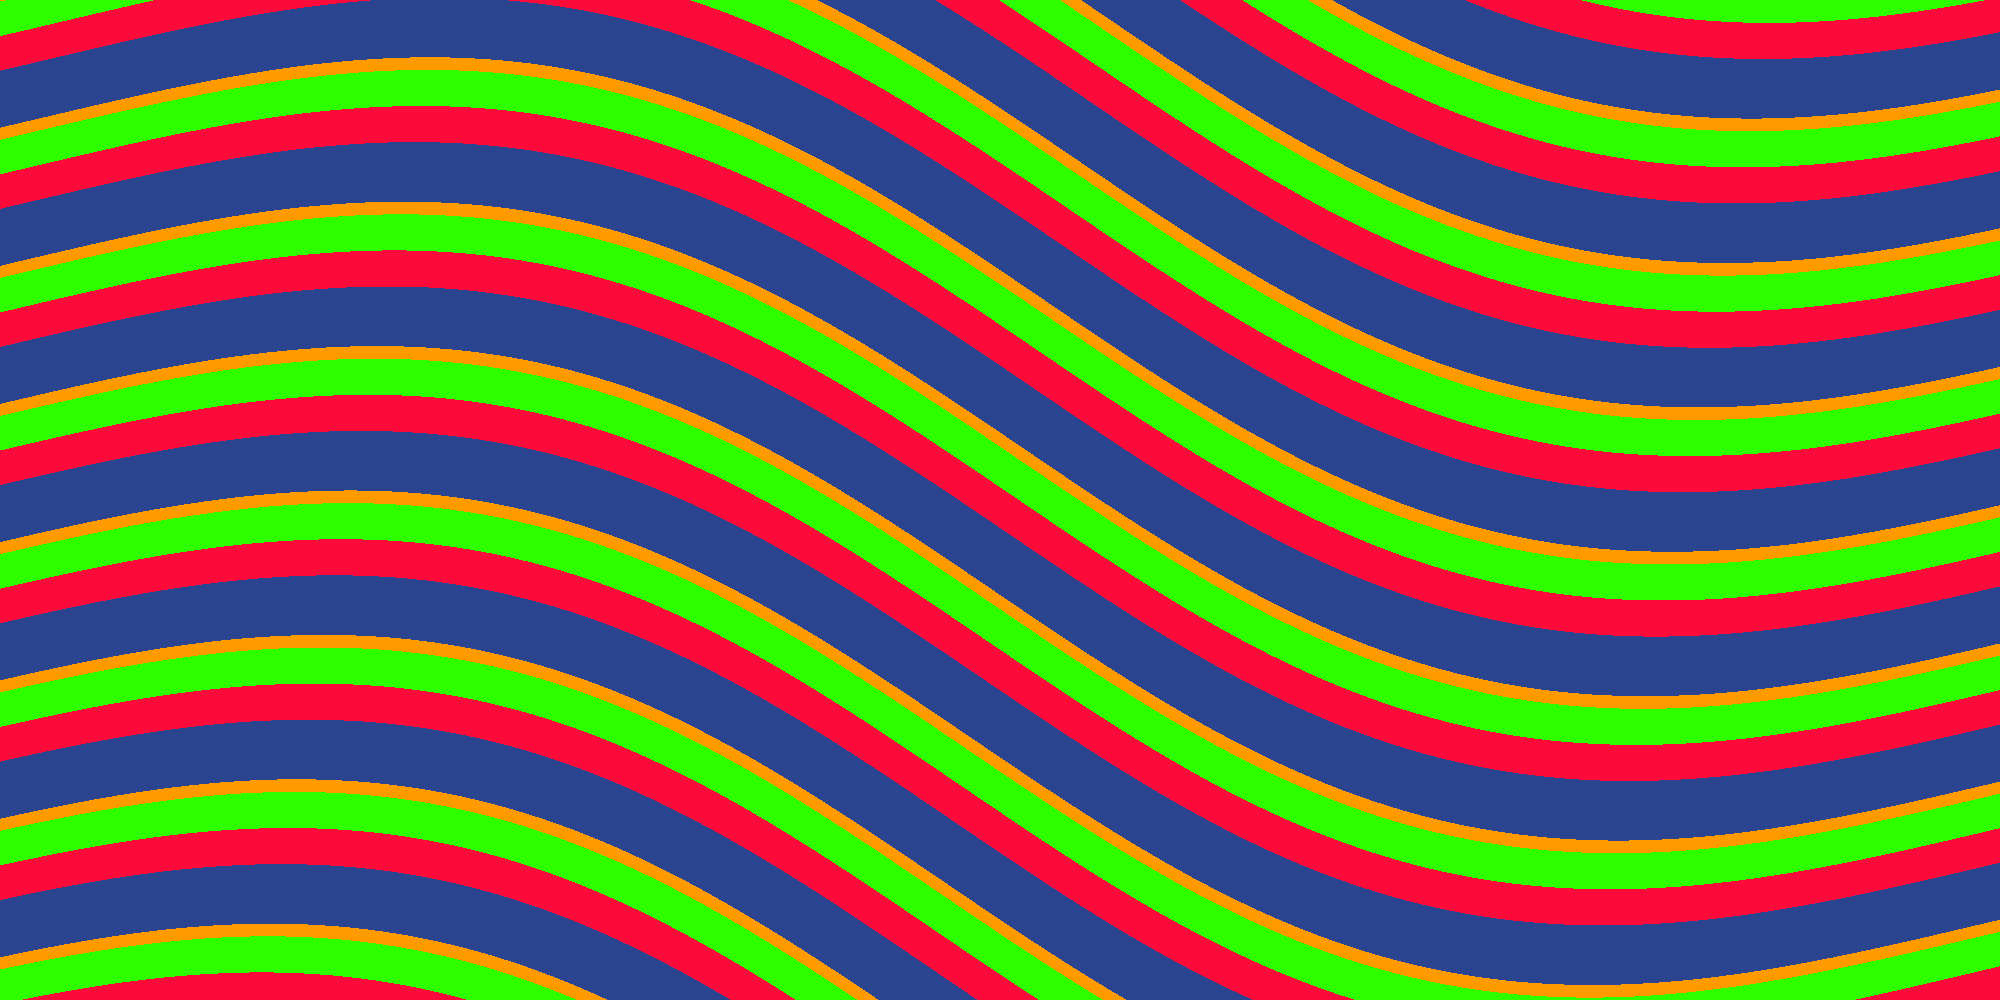
With these new features added our stripes shader will look like this:
Full rotation
In the stripes shader we used a trick to rotate the stripes: We just blended between horizontal and vertical stripes. This is valid and works quite fast but I’d like to show you how to implement a full rotation about any angle. This also has the benefit of not affecting the thickness of the stripes when you change the direction.
How do you rotate a point in 2D? Googling for “2D Rotation” gives the answer on the first search result:
x' = x cos f - y sin f
y' = y cos f + x sin f
so let’s use this knowledge and write a function for our shader that rotates a point in 2D:
float2 rotatePoint(float2 pt, float2 center, float angle) {
	float sinAngle = sin(angle);
	float cosAngle = cos(angle);
	pt -= center;
	float2 r;
	r.x = pt.x * cosAngle - pt.y * sinAngle;
	r.y = pt.x * sinAngle + pt.y * cosAngle;
	r += center;
	return r;
}
Change the fragment shader:
//float2 pos;
//pos.x = lerp(i.uv.x, i.uv.y, _Direction);
//pos.y = lerp(i.uv.y, 1 - i.uv.x, _Direction);

float2 pos = rotatePoint(i.uv.xy, float2(0.5, 0.5), _Direction * 2 * PI);
And now we can rotate our stripes about 360 degrees!
Note: Since sinand cos are expensive operations you might still want to keep the old version which blends horizontal and vertical stripes if your shader needs to be fast.
Width Shift
Until now all stripes have the same width. We will add a new parameter to shift the width and replace the hardcoded value of 0.5:
_WidthShift ("Width Shift", Range(0, 1)) = 0.5float _WidthShift;…and change the fragment shader:
fixed value = floor(frac(pos.x) + _WidthShift);Now we can change the thickness of stripes:

More Colors
The next option we will add is to specify up to four colors. These are the parameters:
Properties {
	[IntRange] _NumColors ("Number of colors", Range(2, 4)) = 2
	_Color1 ("Color 1", Color) = (0,0,0,1)
	_Color2 ("Color 2", Color) = (1,1,1,1)
	_Color3 ("Color 3", Color) = (1,0,1,1)
	_Color4 ("Color 4", Color) = (0,0,1,1)
	_Tiling ("Tiling", Range(1, 500)) = 10
	_Direction ("Direction", Range(0, 1)) = 0
	_WarpScale ("Warp Scale", Range(0, 1)) = 0
	_WarpTiling ("Warp Tiling", Range(1, 10)) = 1
}
int _NumColors;
fixed4 _Color1;
fixed4 _Color2;
fixed4 _Color3;
fixed4 _Color4;
int _Tiling;
float _Direction;
float _WarpScale;
float _WarpTiling;In the Unity inspector of the shader the color section will look like this:
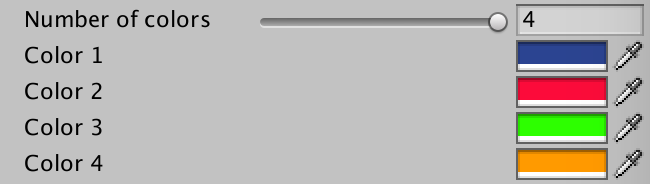
Note: The inspector always shows all four colors even if you set “Number of Colors” to a value lower than 4. The only way to change this is to write a custom shader GUI. In this example we won’t do this.
In the fragment shader we change the last lines like this:
int value = floor((frac(pos.x) + _WidthShift) * _NumColors);
value = clamp(value, 0, _NumColors - 1);
switch (value) {
	case 3: return _Color4;
	case 2: return _Color3;
	case 1: return _Color2;
	default: return _Color1;
}
What has changed? First we multiply the result of frac(pos.x) + _WidthShift by _NumColors before we pass it to the floor function. Before value was either 0 or 1. Now it will be a value between 0 and _NumColors. In the line we clamp value between 0 and _NumColors - 1. Otherwise a third color could show up even if you set _NumColors to 2. Then we switch between the four colors based on value. Using the same method you could add more colors if you want.
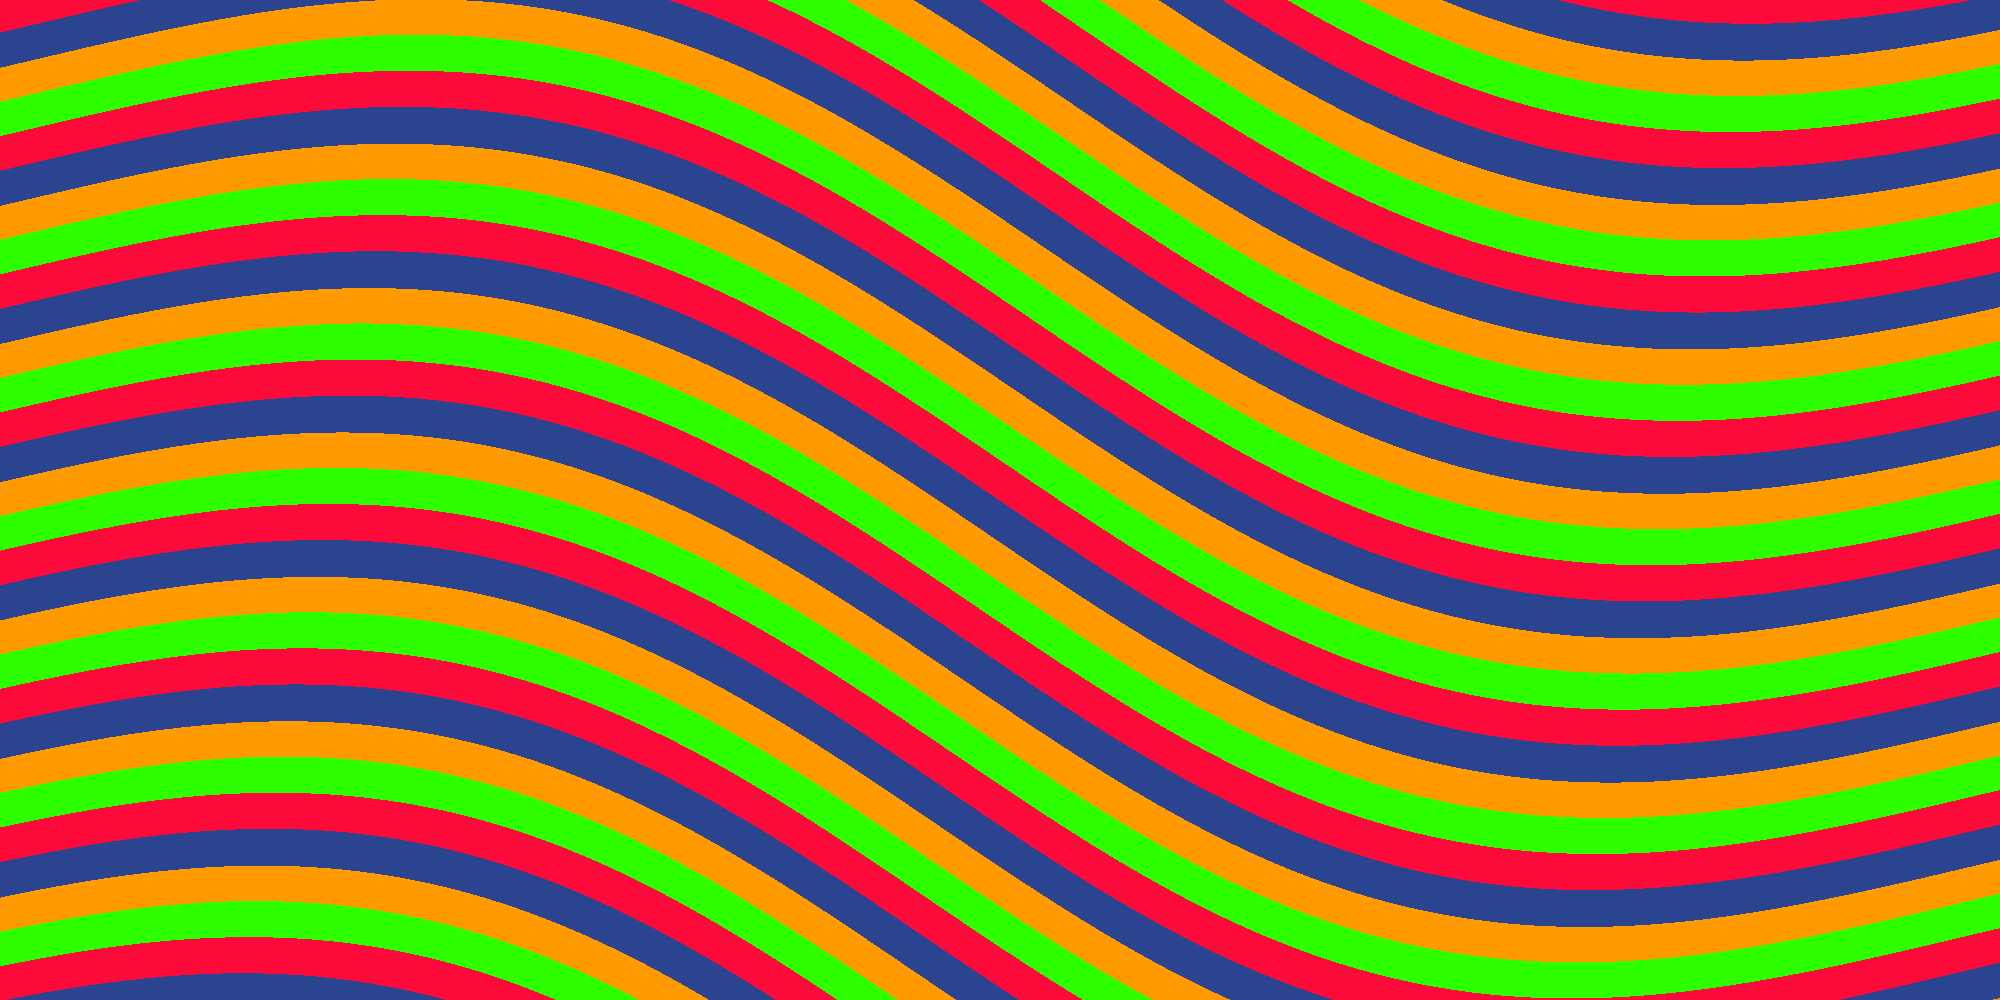
This is stripes with four colors:
Width Shift with more colors
To make the width shift work with more colors we need to change the default value of _WidthShift to 0 and change the range from -1 to 1:
_WidthShift ("Width Shift", Range(-1, 1)) = 0Width shifting with four colors looks like this:
Here ist the full code of the advanced stripes shader:
Shader "Unlit/Stripes-2"
{
	Properties {
		[IntRange] _NumColors ("Number of colors", Range(2, 4)) = 2
		_Color1 ("Color 1", Color) = (0,0,0,1)
		_Color2 ("Color 2", Color) = (1,1,1,1)
		_Color3 ("Color 3", Color) = (1,0,1,1)
		_Color4 ("Color 4", Color) = (0,0,1,1)
		_Tiling ("Tiling", Range(1, 500)) = 10
		_WidthShift ("Width Shift", Range(-1, 1)) = 0
		_Direction ("Direction", Range(0, 1)) = 0
		_WarpScale ("Warp Scale", Range(0, 1)) = 0
		_WarpTiling ("Warp Tiling", Range(1, 10)) = 1
	}

	SubShader
	{

		Pass
		{
			CGPROGRAM
			#pragma vertex vert
			#pragma fragment frag

			#include "UnityCG.cginc"

			int _NumColors;
			fixed4 _Color1;
			fixed4 _Color2;
			fixed4 _Color3;
			fixed4 _Color4;
			int _Tiling;
			float _WidthShift;
			float _Direction;
			float _WarpScale;
			float _WarpTiling;

			struct appdata
			{
				float4 vertex : POSITION;
				float2 uv : TEXCOORD0;
			};

			struct v2f
			{
				float2 uv : TEXCOORD0;
				float4 vertex : SV_POSITION;
			};

			v2f vert (appdata v)
			{
				v2f o;
				o.vertex = UnityObjectToClipPos(v.vertex);
				o.uv = v.uv;
				return o;
			}

			float2 rotatePoint(float2 pt, float2 center, float angle) {
				float sinAngle = sin(angle);
				float cosAngle = cos(angle);
				pt -= center;
				float2 r;
				r.x = pt.x * cosAngle - pt.y * sinAngle;
				r.y = pt.x * sinAngle + pt.y * cosAngle;
				r += center;
				return r;
			}

			fixed4 frag (v2f i) : SV_Target
			{
				const float PI = 3.14159;

				float2 pos = rotatePoint(i.uv.xy, float2(0.5, 0.5), _Direction * 2 * PI);

				pos.x += sin(pos.y * _WarpTiling * PI * 2) * _WarpScale;
				pos.x *= _Tiling;

				int value = floor((frac(pos.x)) * _NumColors  + _WidthShift);
				value = clamp(value, 0, _NumColors - 1);
				switch (value) {
					case 3: return _Color4;
					case 2: return _Color3;
					case 1: return _Color2;
					default: return _Color1;
				}
			}
			ENDCG
		}
	}
}
Here you can find a Unity Package and an example scene.
That’s all folks for now! In the next part we will add new mode to render checker pattern instead stripes with different blend operations. So stay tuned!