How To Write a Stripes Shader, Part 1: UVs, Rotation, Warping
This is the first post of my Unity shaders series. The series is aimed at people who have a little bit experience with writing shaders in Unity but I will try to explain everything so beginners can follow, too. Also I want to show you all the little tricks I learned and I will keep everything clean and simple.
Why Should You Write Shaders?
I’m a technical artists in the games industry. Part of my job is to make the surface of real time 3D objects of our games look as good as possible. Shaders play an important role here. They are a powerful way to create beautiful materials. So I can really encourage everyone who wants to create materials for games to learn to write shaders! And materials are just the beginning. Shaders can also be used for post effects, rendering and tools.
Stripes Shader
Today I will show you how to create a simple stripes shader in Unity. The final shader will look like this:
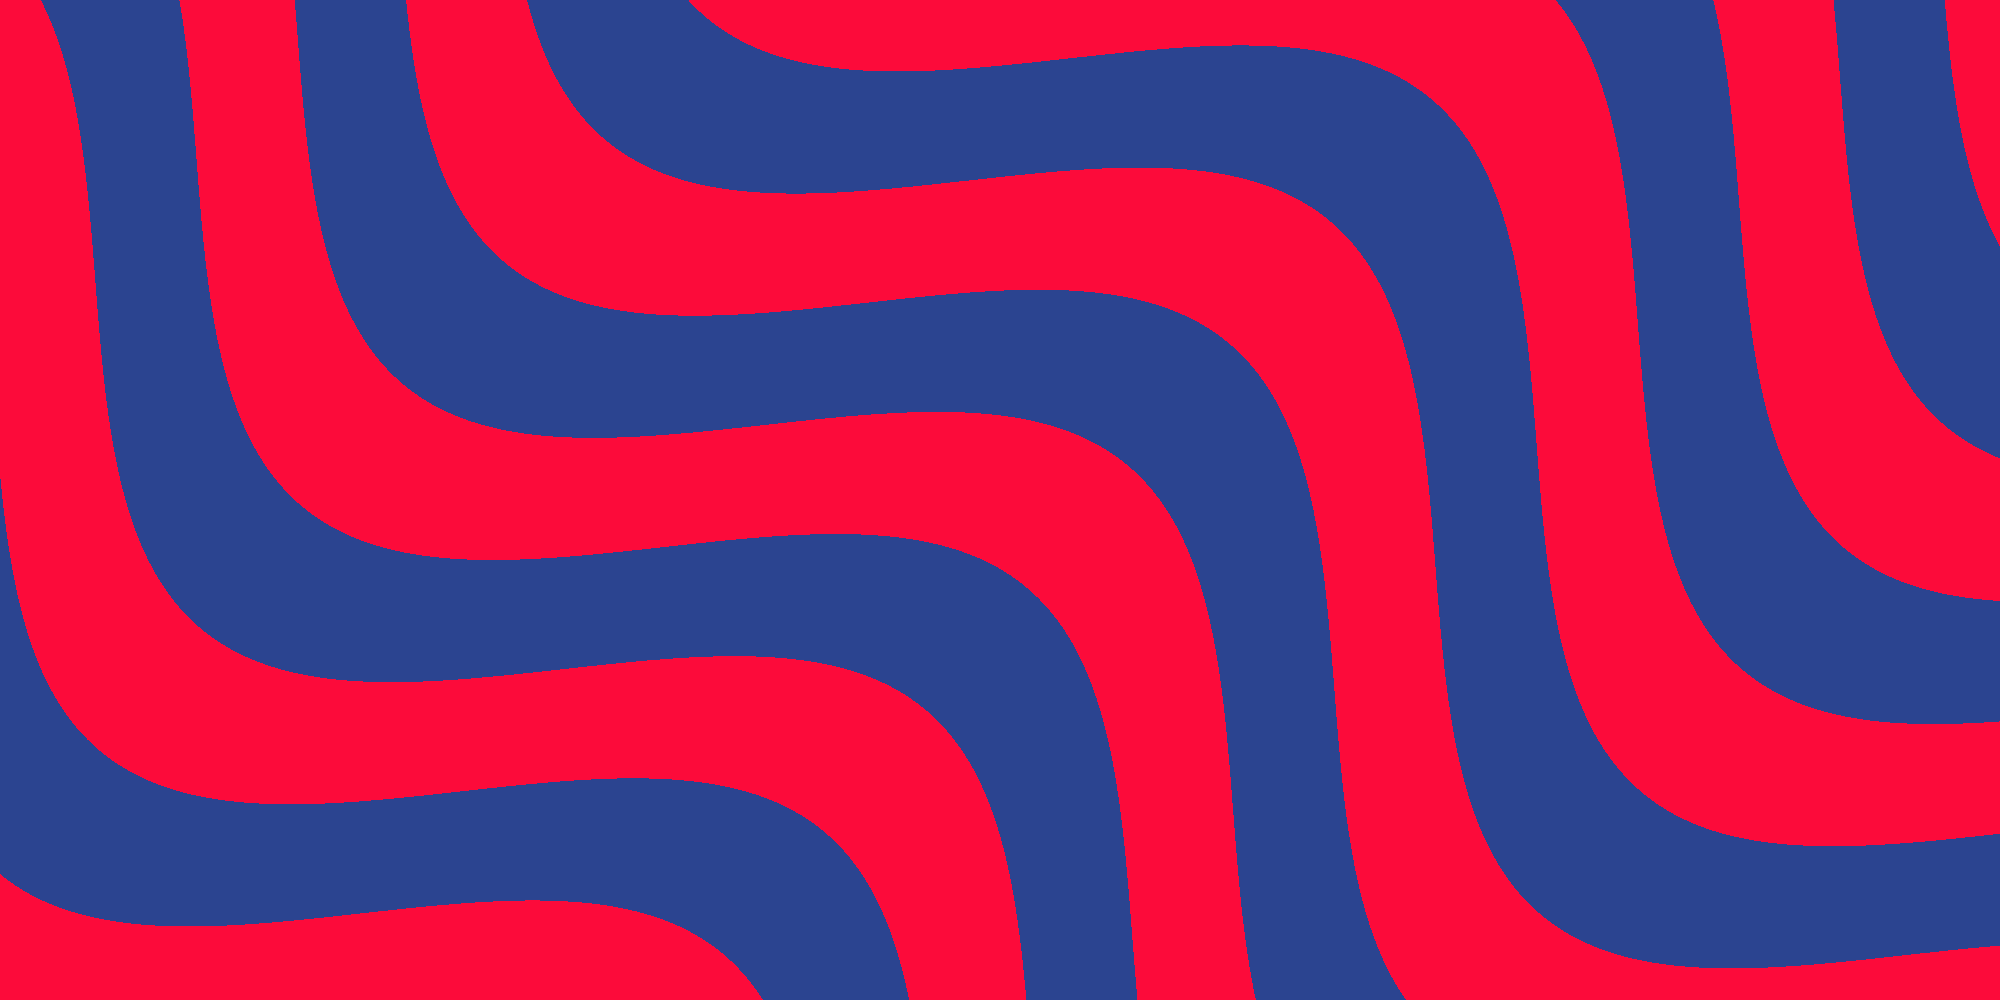
Quite hypnotic, isn’t it? An example of how such a shader can be used is the hills of the wonderful game Tiny Wings by Andreas Illiger.
Getting Started
I don’t start at zero here. So if you are new at shaders have a look at writing shaders in the Unity docs. This gives you a very nice starting point.
We will start with a new unlit shader in Unity. Right click in the project window and select Create > Shader > Unlit Shader. In the new file we strip away everything we don’t need until we have the most simple unlit shader:
Shader "Unlit/NewUnlitShader"
{
	SubShader
	{
		Tags { "RenderType"="Opaque" }

		Pass
		{
			CGPROGRAM
			#pragma vertex vert
			#pragma fragment frag

			struct appdata
			{
				float4 vertex : POSITION;
				float2 uv : TEXCOORD0;
			};

			struct v2f
			{
				float2 uv : TEXCOORD0;
				float4 vertex : SV_POSITION;
			};

			v2f vert (appdata v)
			{
				v2f o;
				o.vertex = UnityObjectToClipPos(v.vertex);
				o.uv = v.uv;
				return o;
			}

			fixed4 frag (v2f i) : SV_Target
			{
				return 0;
			}
			ENDCG
		}
	}
}
UVs Shader
Now we will change the simple unlit shader so it renders the texture coordinates aka uvs as colors. We need to modify the fragment shader like this:
fixed4 frag (v2f i) : SV_Target
{
	fixed4 color;
	color.rg = i.uv;
	return color;
}
Now you get this:

Gradient
With just a little change we can turn the uvs into a gradient. For this we output the x value of i.uv. This will give us a horizontal gradient. If you want a vertical gradient just output i.uv.y. The fragment shader of the horizontal gradient looks like this:
fixed4 frag (v2f i) : SV_Target
{
	return i.uv.x;
}
Tiling
The next step is to add some tiling. For this we multiply the uvs by a tiling factor. For now we just hard code a tiling factor of 10. And then we perform a frac operation to let the values repeat once they reach 1:
fixed4 frag (v2f i) : SV_Target
{
	float pos = i.uv.x * 10;
	return frac(pos);
}
Zebra Crossing
How do we get stripes from a gradient? Just truncate the decimals of the result of the frac operation. And also we need to add a treshold value between 0 and 1. Every value below the threshold will become 0 after the frac and every value above will become 1. To get even stripes we set the threshold to 0.5. Later we can use this this to specify the thickness ratio of white and black stripes.
fixed4 frag (v2f i) : SV_Target
{
	float pos = i.uv.x * 10;
	return floor(frac(pos) + 0.5);
}
Tiling Parameter
Now let’s make the tiling a parameter so it can be tweaked. First add a property block to the shader:
Properties {
	_Tiling ("Tiling", Range(1, 500)) = 10
}
Define the _Tiling variable in the code
int _Tiling;and replace the hard coded tiling value in the fragment shader:
float pos = i.uv.x * _Tiling;Direction
Next we want to control the direction of our stripes by another parameter. We will use a little trick here to avoid complex rotation transformation. The idea is to blend between vertical and horizontal stripes. How do we get horizontal stripes? Just use the y value of the uvs instead of x in the fragment shader:
float pos = i.uv.y * _Tiling;To specify an arbitrary direction we first declare a new parameter _Direction
Properties {
	_Tiling ("Tiling", Range(1, 500)) = 10
	_Direction ("Direction", Range(0, 1)) = 0
}
and blend between x and y:
fixed4 frag (v2f i) : SV_Target
{
	float pos = lerp(i.uv.x, i.uv.y, _Direction) * _Tiling;
	fixed value = floor(frac(pos) + 0.5);
	return value;
}
And now we have stripes at any direction!

Note: You will notice a little downside of this method: diagonal stripes will be a bit thicker than horizontal or vertical stripes. Of course there is a way to compensate this but for simplicity’s sake we keep it like this for now.
Colors
It’s time to add some color! First we declare two color parameters and the corresponding variables:
Properties {
	_Color1 ("Color 1", Color) = (0,0,0,1)
	_Color2 ("Color 2", Color) = (1,1,1,1)
	_Tiling ("Tiling", Range(1, 500)) = 10
	_Direction ("Direction", Range(0, 1)) = 0
}
fixed4 _Color1;
fixed4 _Color2;
int _Tiling;
float _Direction;and in the fragment shader we blend between the two colors based on value:
fixed4 frag (v2f i) : SV_Target
{
float pos = lerp(i.uv.x, i.uv.y, _Direction) * _Tiling;
fixed value = floor(frac(pos) + 0.5);
return lerp(_Color1, _Color2, value);
}Now we have colored stripes:

Warping
Now we add some warping to the stripes. For this we need to more parameters:
Properties {
_Color1 ("Color 1", Color) = (0,0,0,1)
_Color2 ("Color 2", Color) = (1,1,1,1)
_Tiling ("Tiling", Range(1, 500)) = 10
_Direction ("Direction", Range(0, 1)) = 0
_WarpScale ("Warp Scale", Range(0, 1)) = 0
_WarpTiling ("Warp Tiling", Range(1, 10)) = 1
}fixed4 _Color1;
fixed4 _Color2;
int _Tiling;
float _Direction;
float _WarpScale;
float _WarpTiling;and then we modify the fragment shader as follows:
fixed4 frag (v2f i) : SV_Target
{
const float PI = 3.14159;
float2 pos;
pos.x = lerp(i.uv.x, i.uv.y, _Direction);
pos.y = lerp(i.uv.y, 1 - i.uv.x, _Direction);
pos.x += sin(pos.y * _WarpTiling * PI * 2) * _WarpScale;
pos.x *= _Tiling;
fixed value = floor(frac(pos.x) + 0.5);
return lerp(_Color1, _Color2, value);
}Now step by step. First we define a constant PI that we will use later to tranform uvs into radians as arguments for sin:
const float PI = 3.14159;The type of pos has been changed to float2. This has been done because we need both components x and y of the rotated uvs. Before we added the rotation pos was just the x component of the uvs (multiplied by the tiling factor). So now if Direction was zero pos would be equal to i.uv. If Direction has a different value pos would contain the rotated uvs. We need the y component of pos because we want to calculate the warping based on the y (or v) component of the uvs. In other words: The stripes should be warped along the axis orthogonal to their direction.
float2 pos;
pos.x = lerp(i.uv.x, i.uv.y, _Direction);
pos.y = lerp(i.uv.y, 1 - i.uv.x, _Direction);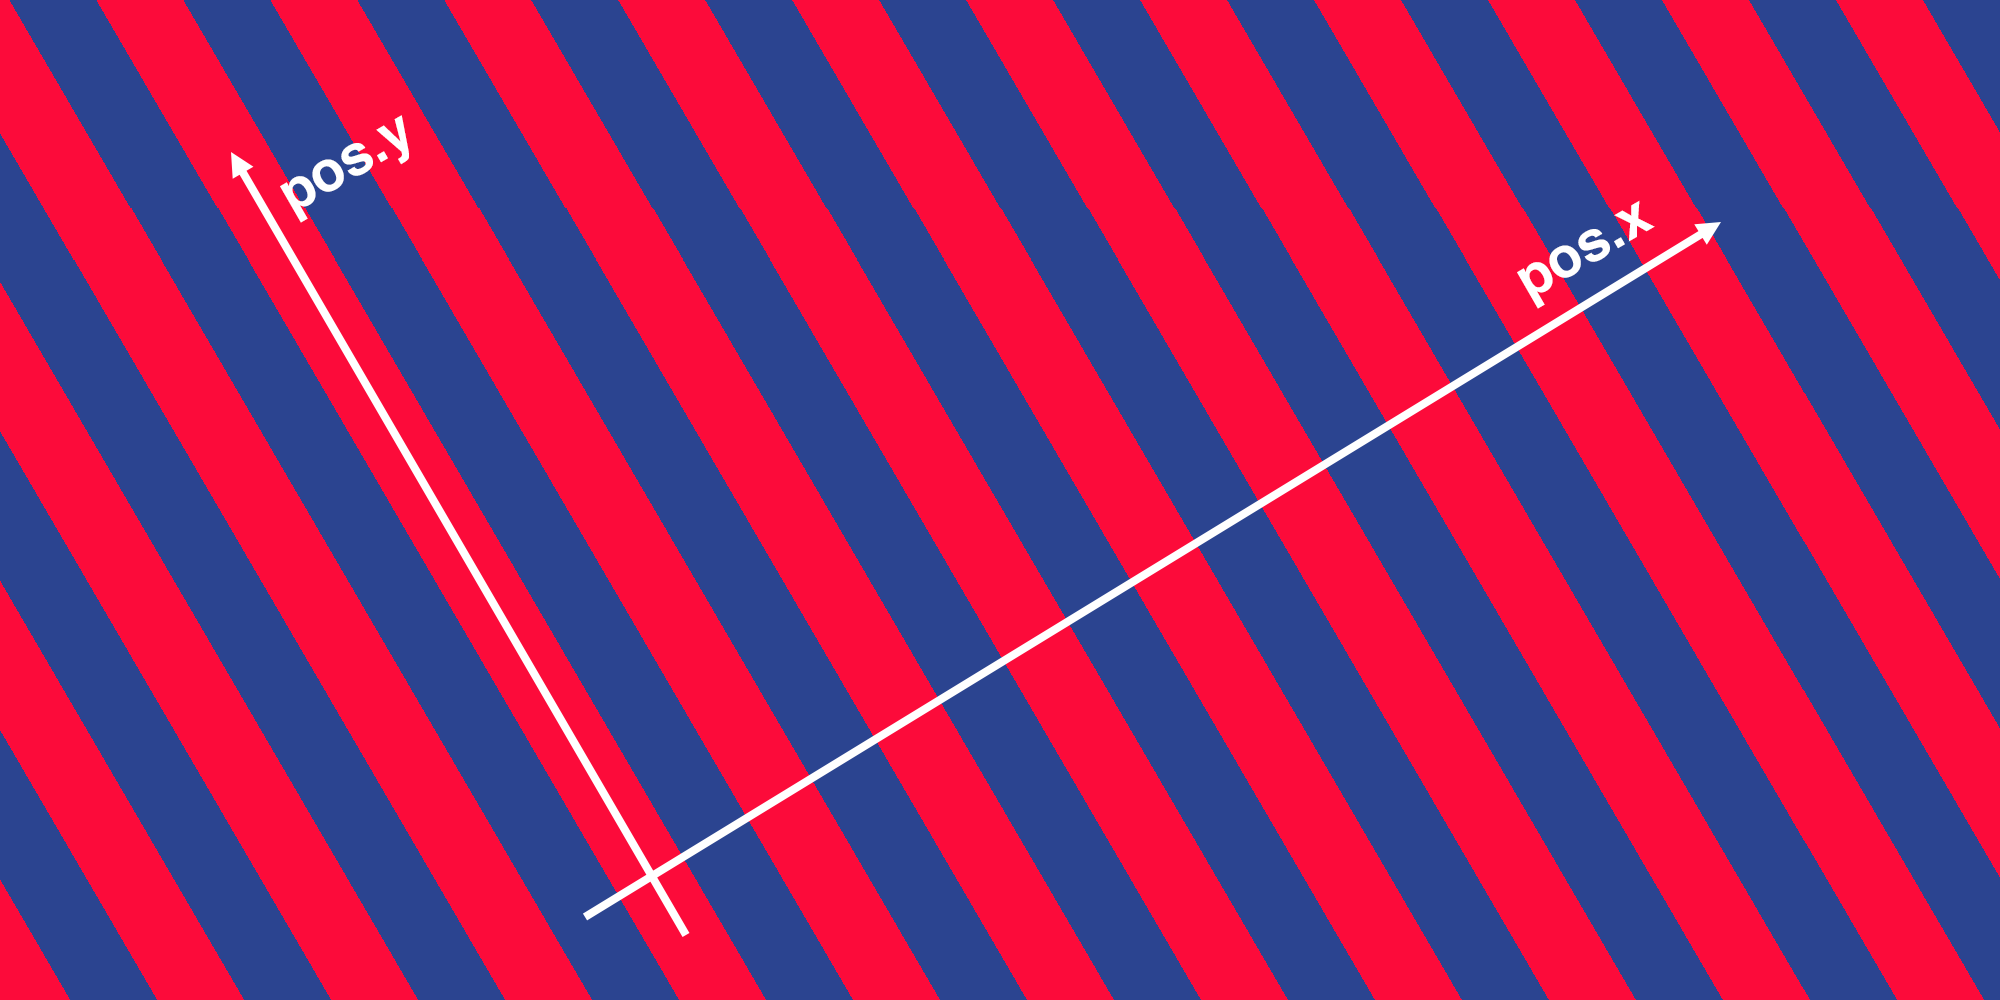
The next line adds an offset to pos.x which does the warping. It’s just a sine function which takes pos.y as an argument. Because sin wants its arguments in radian units we multiply pos.y by 2 PI so there is exactly one sine wave along the length of 1 uv. To allow tiling of the sine wave we multiply also by _WarpTiling. We multiply result of the sine function by _WarpScale so we can scale the amount of warping along the pos.x-axis.
pos.x += sin(pos.y * _WarpTiling * PI * 2) * _WarpScale;In the last line we multiply pos.x by the tiling parameter.
pos.x *= _Tiling;All Together
This is the full code of the stripes shader and the final result:
Shader "Unlit/Stripes"
{
Properties {
_Color1 ("Color 1", Color) = (0,0,0,1)
_Color2 ("Color 2", Color) = (1,1,1,1)
_Tiling ("Tiling", Range(1, 500)) = 10
_Direction ("Direction", Range(0, 1)) = 0
_WarpScale ("Warp Scale", Range(0, 1)) = 0
_WarpTiling ("Warp Tiling", Range(1, 10)) = 1
}
SubShader
{
Pass
{
CGPROGRAM
#pragma vertex vert
#pragma fragment frag
#include "UnityCG.cginc"
fixed4 _Color1;
fixed4 _Color2;
int _Tiling;
float _Direction;
float _WarpScale;
float _WarpTiling;
struct appdata
{
float4 vertex : POSITION;
float2 uv : TEXCOORD0;
};
struct v2f
{
float2 uv : TEXCOORD0;
float4 vertex : SV_POSITION;
};
v2f vert (appdata v)
{
v2f o;
o.vertex = UnityObjectToClipPos(v.vertex);
o.uv = v.uv;
return o;
}
fixed4 frag (v2f i) : SV_Target
{
	const float PI = 3.14159;

	float2 pos;
	pos.x = lerp(i.uv.x, i.uv.y, _Direction);
	pos.y = lerp(i.uv.y, 1 - i.uv.x, _Direction);

	pos.x += sin(pos.y * _WarpTiling * PI * 2) * _WarpScale;
	pos.x *= _Tiling;

	fixed value = floor(frac(pos.x) + 0.5);
	return lerp(_Color1, _Color2, value);
}
ENDCG
}
}
}
Here you can find a Unity Package of the shader and an example scene.
And that’s all folks! I hope you learned something new and have fun playing around with the shader!